Highlights
- Controller bindings can significantly impact a player’s ability in Rocket League.
- Moving powerslide and air roll to the left bumper improves versatility and control.
- Players can customize their controller layout to optimize aerial movements and make dribbling more efficient.
It’s hard to believe, but Rocket League is almost a decade old. Developer Psyonix’s simple concept of “soccer with cars” has blown up into a worldwide phenomenon, with players of various skill levels playing from countries all around the globe. The game’s learning curve is one of the steepest on the free-to-play market, but the beauty of its physics-based gameplay design is that the more players play, the better they’ll get. Their skills aren’t based on having the best gear or the highest level, but simply being the most practiced. Just like a real sport.
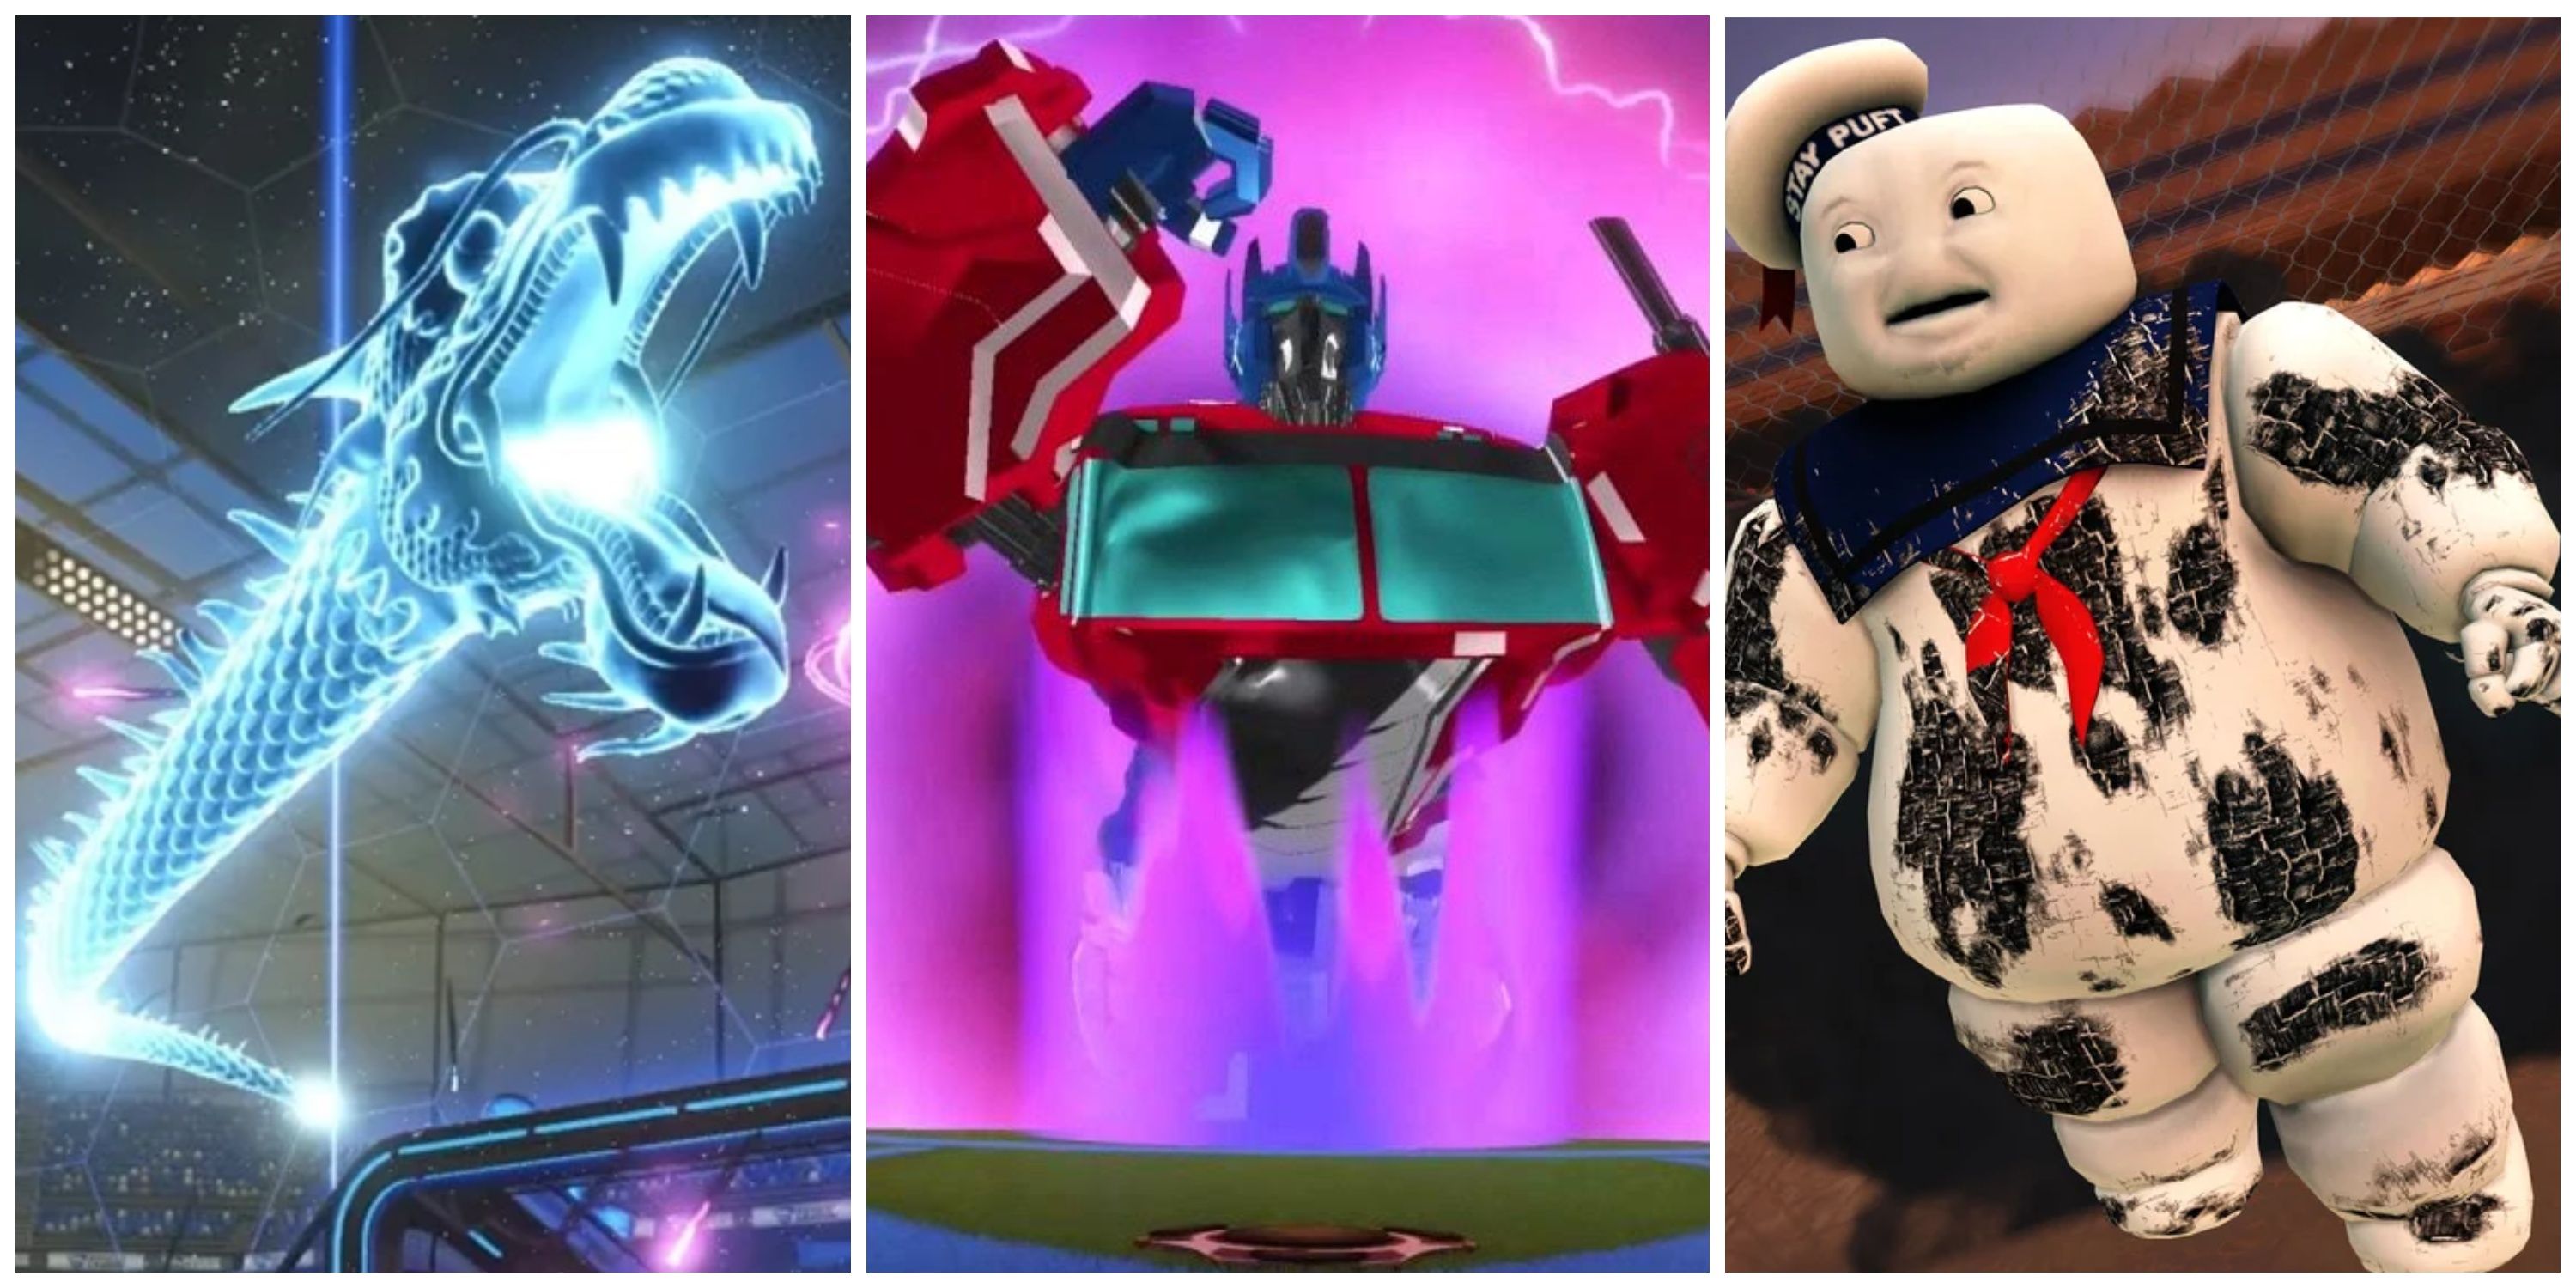
Best Goal Explosions In Rocket League
Celebrate in style with the best goal explosions in Rocket League.
One external factor that can have a significant influence on a player’s overall ability in Rocket League is their controller bindings. While any player can make do with the default controller layout, players who are games-pvp-hardest-ranked-modes/”>serious about ranking up and taking on the game’s toughest competition will see serious improvements with just a few simple tweaks to their controls and controller layout. With that said, there are lots of ways to bake a cake, and players should never feel restricted to a particular layout. Experimentation is how these controller bindings became widely used, so experiment away.
1 Powerslide – Left Bumper
Allows Players To Powerslide And Boost At The Same Time
Traditionally, the powerslide button (or E-brake) is locked to the Square/X face button on PlayStation and Xbox, respectively. However, many players have found that setup restrictive, mostly because it limits their ability to powerslide and boost simultaneously, which is one way to execute a quick turn in-game.
Instead, the commonly used layout currently is to move powerslide over to the controller’s left bumper, which at default settings displays the game’s scoreboard. This allows players to both boost and powerslide at the same time or gives them the option to powerslide while still using their right thumb to control the camera. In either case, it opens up more versatility, which is always beneficial.
2 Air Roll Left/Right – Left Bumper
Makes Air Rolls Easier And More Intuitive

Just like powerslide, the default controller setup in Rocket League has the air roll function mapped to the Square/X face button. Players hold down Square/X and move the left thumbstick left or right to rotate their car around its axis while in the air. However, this layout is extremely limiting in what it allows players to do while they’re air rolling.
As such, most pro players made the same switch as powerslide and moved air roll over to the left bumper. Since air rolls can only happen in the air, and powerslides are restricted to the ground, the two functions being tied to the same button isn’t an issue. Meanwhile, having air roll mapped to the left bumper makes it far easier to boost while air rolling, or to control the camera. Most pros will turn off Ball Cam while executing an air dribble, so manually controlling the camera during those maneuvers becomes essential.
3 Scoreboard – Square/X
Frees Up The Bumpers For More Important Uses

After players make the adjustments listed previously, the controller’s Square/X button is suddenly freed up. It’s fine to just leave it unused – not every button on the controller needs to do something at all times – but the alternative many players have found is to move the scoreboard display to that button instead.
The only real reason for this is that, if a player is taking a peek at the scoreboard mid-game, odds are they’re waiting on a faceoff or are the third man back and playing defense. Either way, they have an opportunity to take their thumb off of the right thumbstick, the boost, or the jump button for a brief instant to pull up the score. It’s not an essential binding to change, but it helps discourage scoreboard-peeking in the middle of a play.
4 Boost – Right Bumper
Some May Find Aerials Easier With This Setup

Now we’re getting a bit more complex. Boost is typically tied to the Circle/B button on a controller. This default setup works perfectly fine in almost every situation except for one: trying to quickly get off the ground and into an aerial. In that instance, having to hit the jump button (X/A) and then the boost button adds precious seconds to the process.
Many players simply deal with this minor inconvenience by barring the boost and jump buttons with their thumb to press them at the same time. However, the other option is for players to move the boost up to the right bumper. This opens up a ton of possibilities, including (but not limited to) faster aerials and easier air dribbles. The only downside is players will have to relearn their hand positioning on the controller, as they’ll frequently need to press throttle (right trigger) and boost simultaneously while on the ground.
5 Air Roll Left – Left Bumper & Air Roll Right – Right Bumper
Air Roll In The Direction Of The Button Pressed Instead Of With The Left Stick

The traditional setup – be it with air roll mapped to the Square/X button or the left bumper – is to have a single button that essentially engages “air roll mode” and then lets the player dictate the direction of their air roll based on which direction they tilt the left thumbstick while the air roll button is pressed down.
However, for players who want a bit more precision and control with their air rolls, there is a simple solution. Rather than mapping air roll exclusively to the left bumper, they can specify that the left and right bumpers will each cause the car to air roll in their associated direction. Some players find this much easier to manage, while others will find it a nuisance. It’s entirely based on personal preference. Keep in mind that this setup will restrict players from mapping boost to the controller’s right bumper.
6 Jump – Right Bumper
A More Obscure Way To Make Aerials Easier
The alternative to moving boost from Circle/B to the right bumper to facilitate fast aerials is to do the exact same adjustment with the jump button instead. The caveats with this layout remain the same: players will still need to relearn their hand positioning on the controller to fully adapt to this layout.

Rocket League: Every Hitbox In The Game, Ranked
With six hitboxes available in Rocket League, picking the best one is crucial for a successful match.
The benefit here is that, while throttle and boost often need to be held down simultaneously, throttle and jump do not. If anything, players will be switching from throttle to jump rather than constantly using them at the same time, which makes the physical adjustment to this layout simpler than it is when adjusting to having boost at right bumper.
7 Ball Cam – Square/X
Can Make Dribbling More Efficient In The Right Hands
Once players have moved powerslide and air roll to different controller mappings and opened up the Square/X button, it also opens up a few different options for what to do with that button. Most commonly, players will make Square/X the scoreboard button, but the alternative is to map the Ball Cam toggle there instead.
This is mostly for players who find themselves frequently toggling Ball Cam on and off during a match. This is particularly common for players who like to dribble and/or air dribble on a regular basis and need to turn Ball Cam off and back on again very quickly. Moving the Ball Cam toggle down to Square/X doesn’t make a huge difference overall, but the players who use it frequently will definitely notice the split second it saves them when compared to making their thumb travel the extra distance to hit the default binding at Triangle/Y.

#Rocket #League #Controller #Bindings


More Stories
Fallout 4 Radroach Gets ‘Armor’ in Unexpected Way
Overwatch 2 Reveals All Remixed Mirrorwatch Abilities
World of Warcraft Changing Human Racial Ability in The War Within