[Editor’s Note: This article originally appeared in the May 2018 issue of Grassroots Motorsports.]
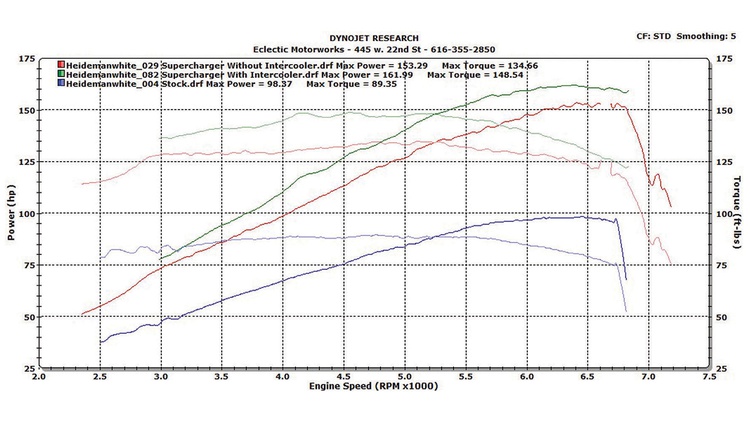
Remember that salvage yard supercharger build that we chronicled in the February issue? Using pre-owned parts, we boosted a 1992 Mazda Miata from 98 horsepower at the wheels to 153. Total cost for the entire endeavor: less than $200.
1.
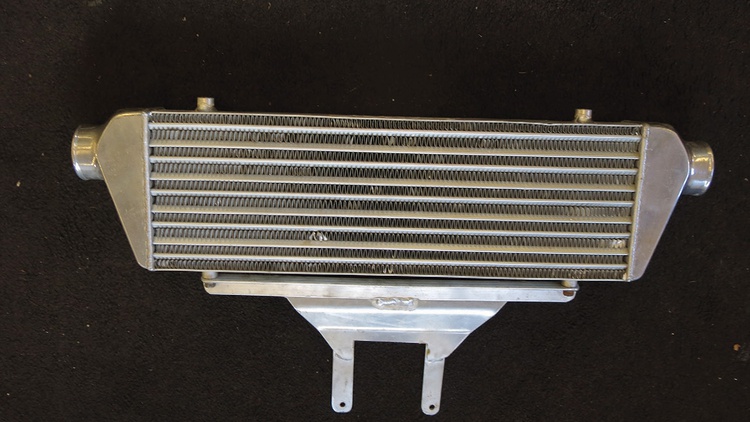
In order to attach our slightly used intercooler to our Miata’s hood latch panel, we fabricated a mount from some 3/16-inch aluminum.
2.
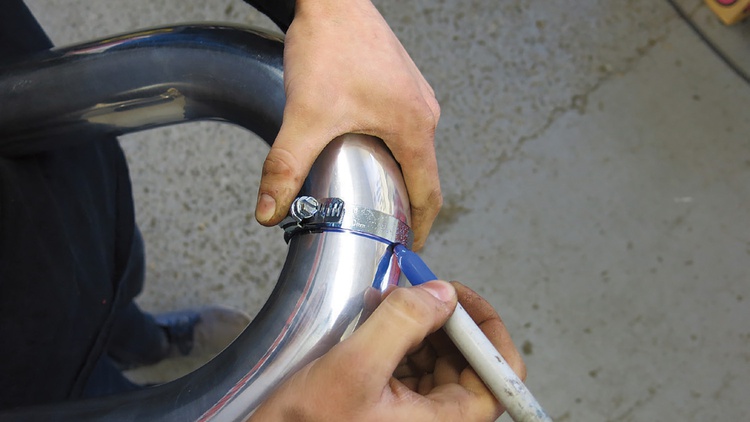
We then began to test fit pieces, starting with a rough guess that a 90-degree bend would get us heading in the right direction. When piecing together tubing, it’s important to make straight cuts. We’ve found that hose clamps make perfect tools for marking those cuts.
3.
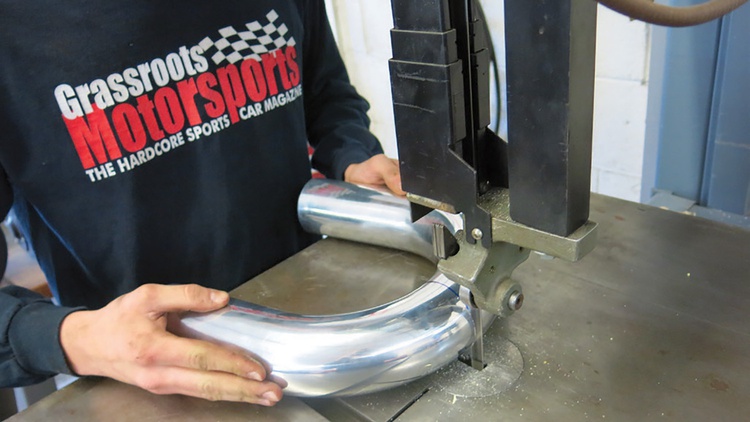
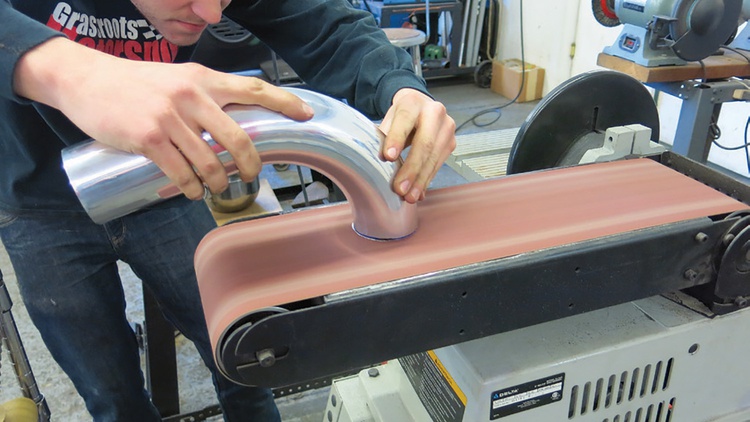
Our bandsaw made quick work of the job. We then cleaned up the cuts with a sander.
4.
5.
Several test fits and minor trims were part of our iteration process.
6.
Once we felt that a section was close to perfect, we secured it with a quick tack weld.
7.
Don’t be afraid to go back and refine things. That’s part of the fabrication process.
8.

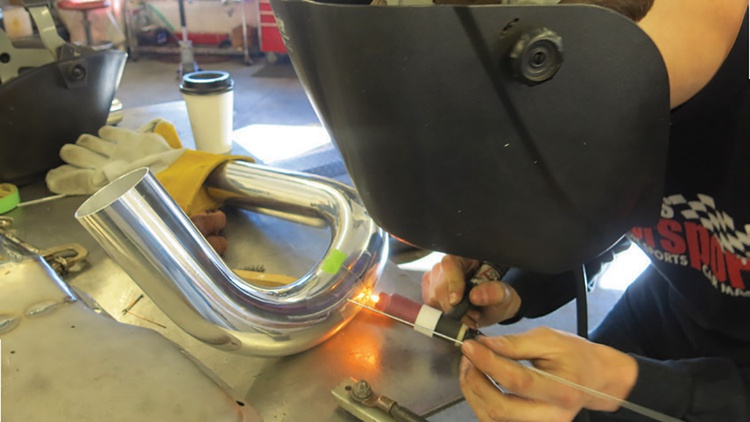
Once satisfied with our test fits, we finish-welded the parts with a TIG welder.
9.
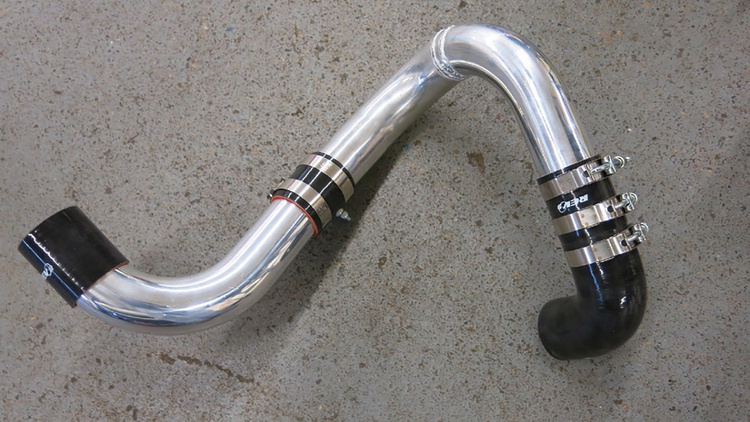
We ended up with two snakes that were basically mirror images of each other. For the passenger side, we made a two-piece setup for easy installation.
10.
11.
12.
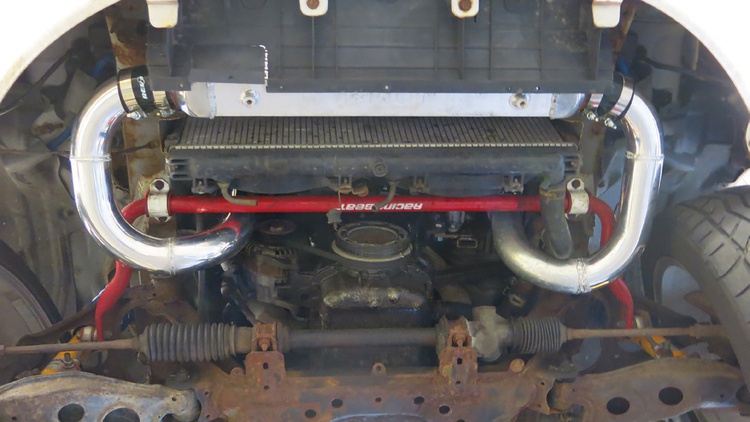
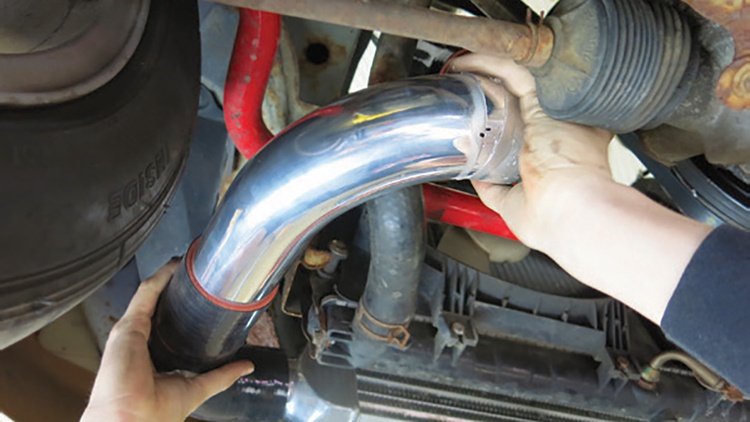
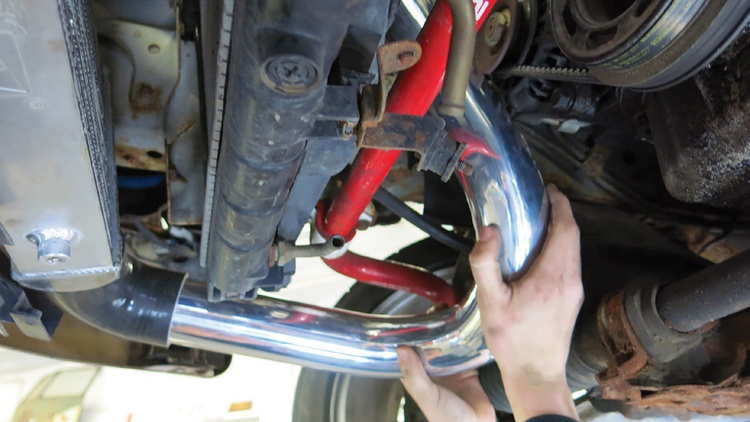
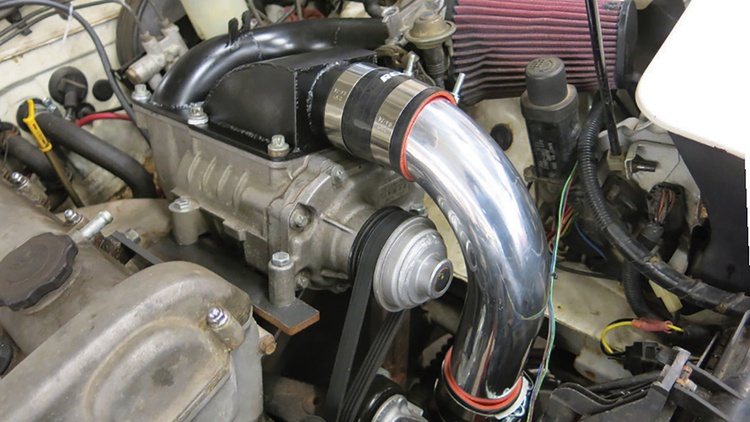
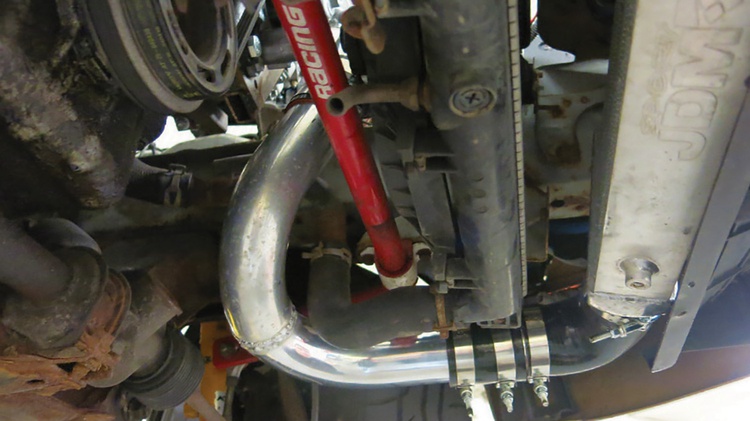
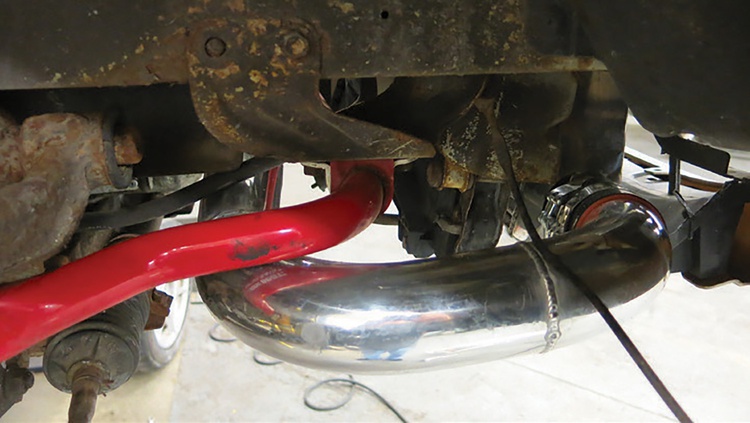
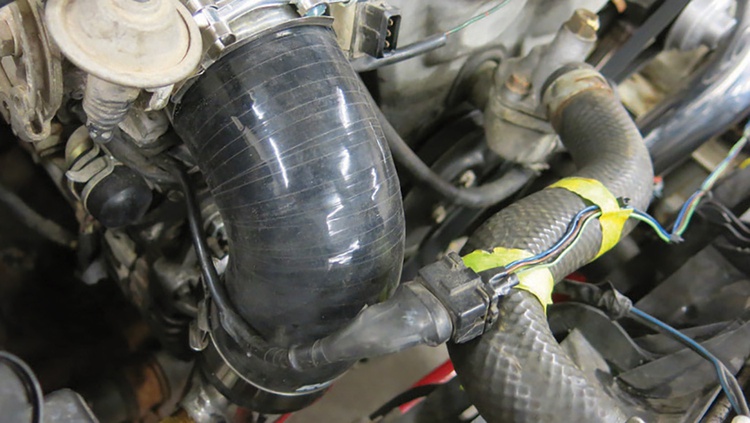
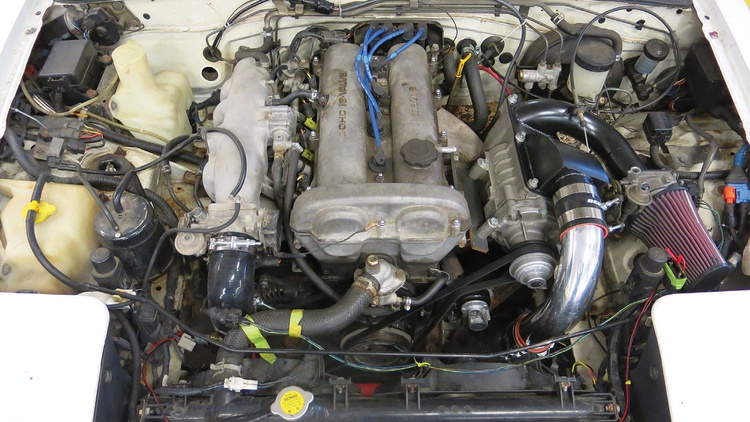
The packaging ended up a little tight, but still looked neat. The supercharger outlet leads to a 90-degree downturn that goes into the intercooler, then to the other side of the car before heading back up to the intake manifold. We really had to watch the packaging everywhere: Not only did we need to make sure that the tubing missed the anti-roll bar at full droop (it did), we also needed to make sure that the tires wouldn’t hit it at full lock (they don’t).
13.
14.
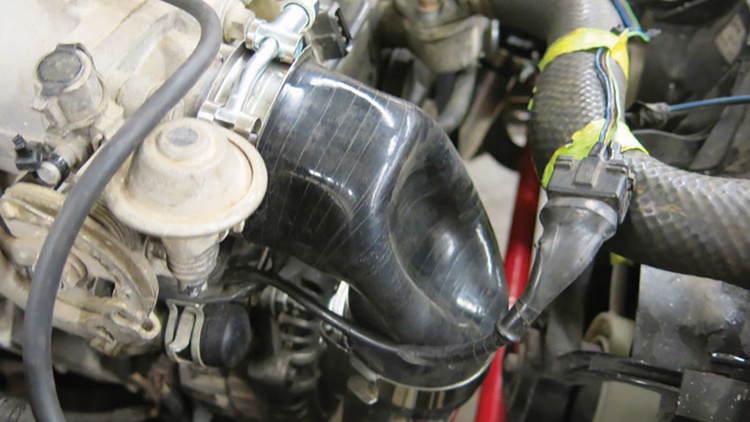
Everything went fine until we ran out of 90-degree aluminum bends. To keep the fabrication on schedule, we tried substituting a silicone 90-degree bend grabbed from our used parts bin. It collapsed under the vacuum of an idling engine. Mistake No. 1.
15.

Our weekend solution: stick a PVC 90-degree bend inside the silicone bend. In order to make the PVC bend fit, we had to cut off its flanges.
16.
Success. The reinforced silicone bend no longer collapsed. (On the dyno we’d later learn that the PVC insert cost us 2-3 horsepower, so an aluminum 90-degree bend will soon be installed.)
17.
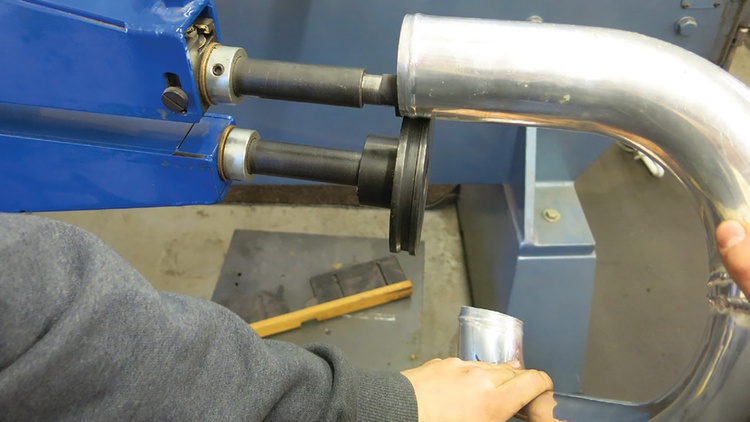
We discovered Mistake No. 2 during our first test drive. We drove the car progressively harder until we popped one of the silicon hoses from the aluminum tubing. This could have been a disaster, as the open intake was effectively running at wide-open throttle. We didn’t get a picture of it, but our tachometer needle spun all the way around! We shut off the engine before damaging anything. To remedy Mistake No. 2, we used a bead roller to add a lip to all of the tubing bends, creating positive stops for our clamps. Since then, we haven’t had any such problems.
18.
The intercooler itself reduced the intake charge by about 50 degrees, enough to add 6 more horsepower at the wheels. The cooler intake charge also allowed us to dial in some more ignition timing, which added another 3 horsepower to the tally. While we didn’t reach our 10-horsepower goal, 9 horsepower is pretty close–and that’s before we replaced that problematic 90-degree bend. The real coup, though, was the torque we gained. Peak torque was up 14 lb.-ft., but some places under the curve showed a gain of nearly 20 lb.-ft. The car now pulls like a train.
19.
20.
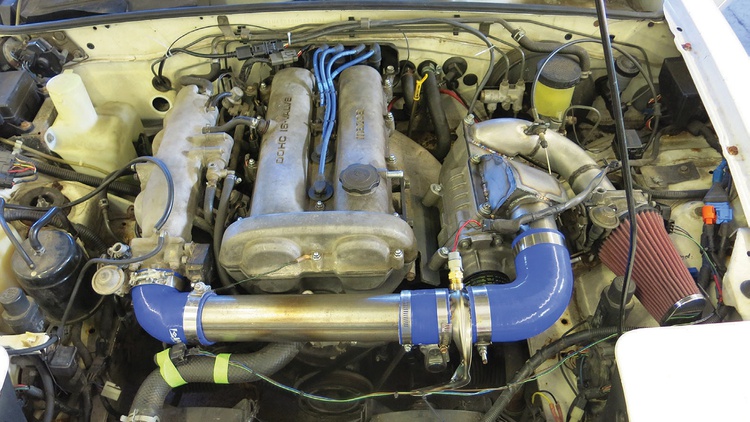
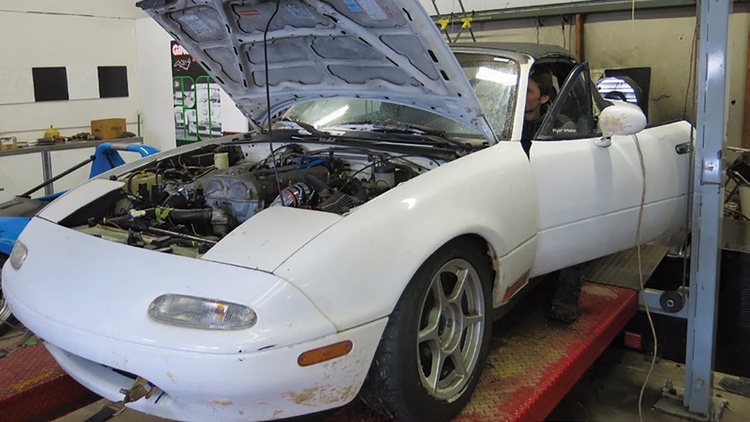
Before and after: Not only did the intercooler help performance, but the engine bay got a little cleaner as well.
21.
#add #intercooler #preowned #turbo #supercharger


More Stories
Ferrari show off heavily-revised SF-24 in Fiorano
Sargeant not distracted by Antonelli rumours after F1 future talks with Vowles
Gallery: 2024 Goodyear 400 throwback paint schemes at Darlington Raceway – Speedway Digest – Home for NASCAR News