A gamer may want to build their PC from scratch for several reasons. You might choose this option if your gaming PC or gaming consoles doesn’t meet the demands of the games you play, you want a more versatile option, or you love the freedom of customization that comes with a home-built system. Also, it’s an excellent experience for ardent do-it-yourself-ers looking to delve into the process. While it may be daunting and complex for beginners, building a gaming PC has many advantages. These systems are typically more durable, powerful, and customizable than their pre-built alternatives.
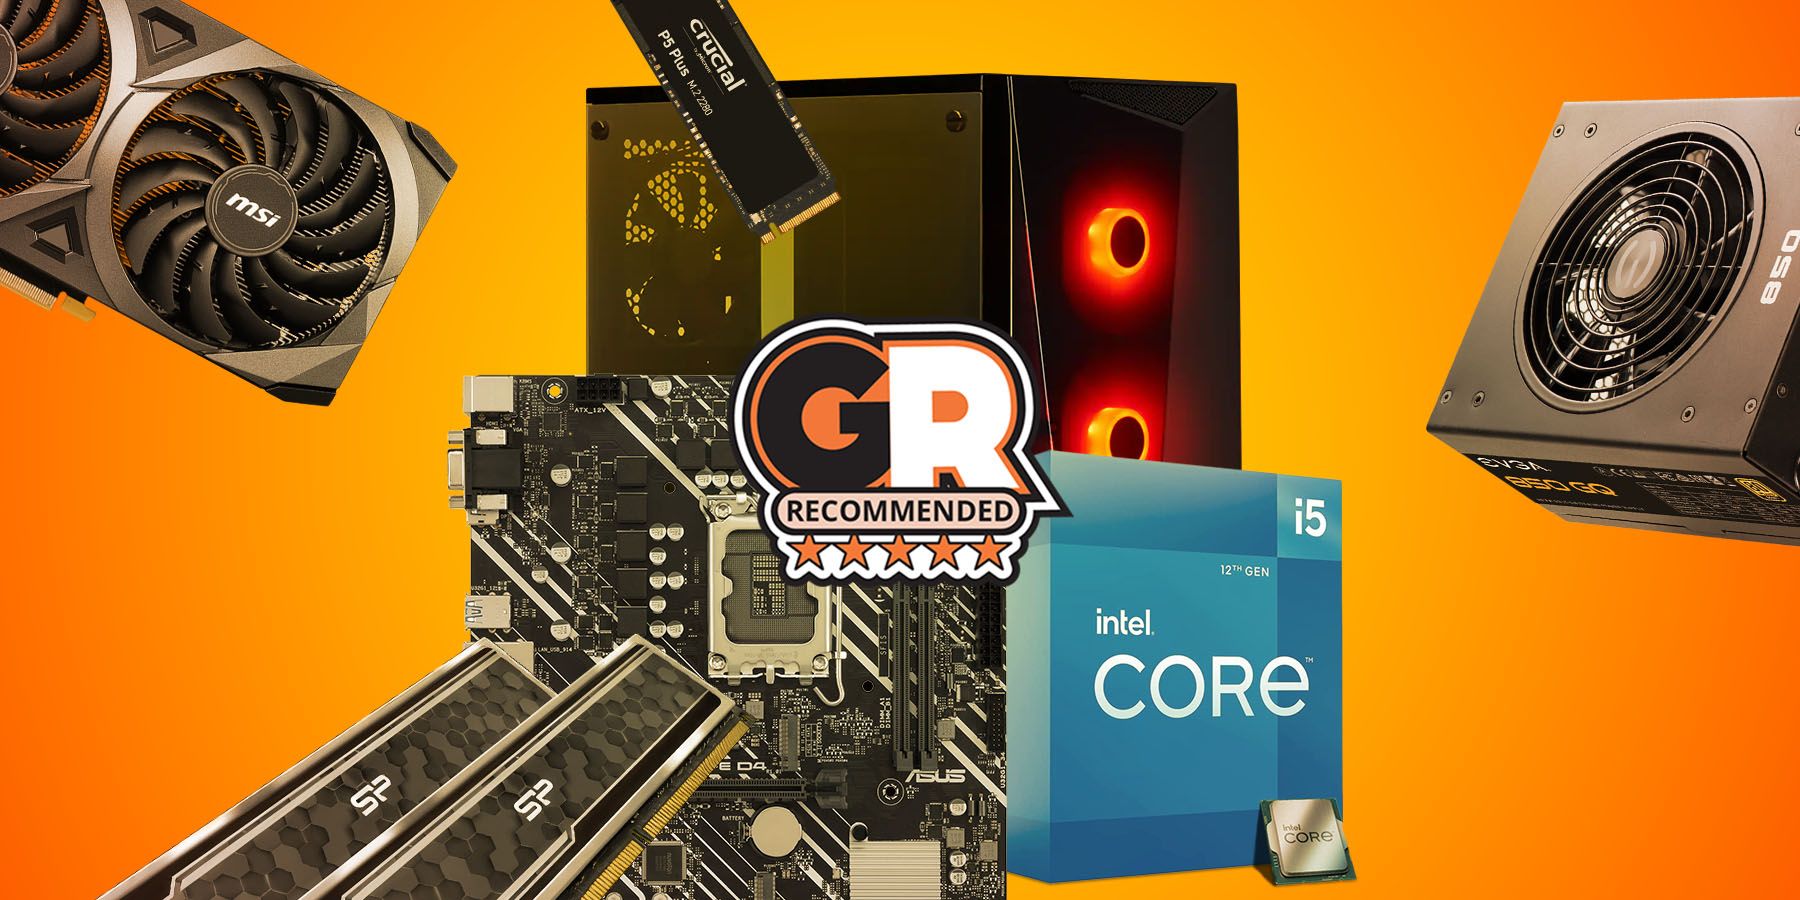
The Best Gaming PC Builds For $1000
Building a gaming PC individually just became easier as Game Rant showcases three of the best and most balanced PC builds.
Also, they allow for continuous upgrades to cover the user’s growing needs and meet the latest technological advancements.
Here, we’ve compiled a comprehensive guide with step-by-step tips to enable even novice users to develop a gaming rig that matches their playing preferences and other usage needs. Let’s get it rolling.
Choosing The Correct Hardware
Building a new gaming PC may not require a lot of new and strange tools to complete. However, it’s essential to learn the requirements and get them ready before commencing the process. Prior preparation of the workspace also boosts the safety of the user and components. Here is a list of all the components you will need to build your PC:
- Processor
- Motherboard
- Graphics Processing Unit (GPU)
- Random Access Memory (RAM)
- Storage
- The CPU Cooling System
- Power Supply Unit (PSU)
- The Computer Casing
-

Asus TUF Gaming B650-Plus WiFi
Motherboard
Asus TUF Gaming B650 Plus Wi-Fi brings Tuf grade components for high durability and has large heatsinks for effective passive cooling. The motherboard provides full support for CPU and memory overclocking on a budget and comes with plenty of connectivity ports. While best for budget and mid-range Ryzen CPUs, it can also support overclocking higher-end CPUs as well.
-
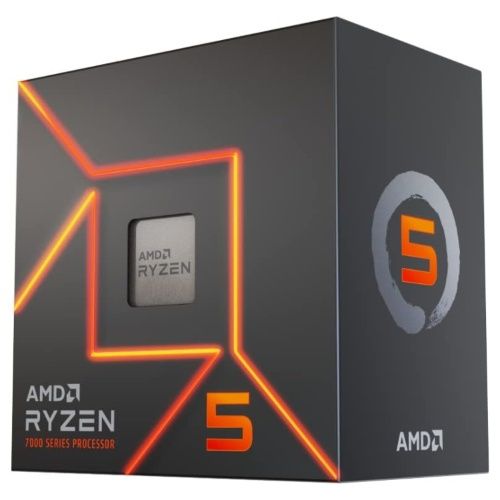
AMD Ryzen 5 7600
CPU
$198 $229 Save $31
On the AM5 platform, the Ryzen 5 7600 shines as an entry-level yet capable CPU for budget builds. This 6-core 12-thread processor can handle intense gaming workloads when paired with high-end GPUs, without bottlenecking them. Lower power draw equals less heat output, allowing users to utilize the included Wraith air cooler without issues.
-

XFX Speedster QICK319 RX 7800 XT CORE
Graphics Card
The 7800XT has been the sweet spot for 1440p gaming while costing sub $500. XFX is an AMD-exclusive board partner and makes excellent Radeon GPUs. Some key features of this graphics card are: 16 GB GDDR6 VRAM, a 256-bit memory bus, and a boost clock of 2430 MHz.
-

TEAMGROUP T-Force Delta RGB DDR5 Ram 32GB (2x16GB) 6000MHz PC5-48000 CL30
RAM
This RAM kit from TEAMGROUP has been one of the most recommended memory options in the PC building community with tons of positive user reviews. AMD’s Ryzen 7000 series performs optimally with RAMs running at 6000MHz at a CAS latency of 30.
-

Kingston FURY Renegade 2TB PCIe Gen 4.0 NVMe M.2 Internal Gaming SSD
Storage
Kingston has been in the storage game for a while and has consolidated their ground with their Fury Renegade Gen 4 NVME drives. This SSD features 3D TLC NAND, up to 7300MB/s read speed, 7000MB/s write speed, and a graphene heat spreader.
-

MSI MPG A1000G PCIE5 PSU
PSU
$170 $180 Save $10
MSI’s MPG lineup of PSUs is their premium offering for high-end builds ensuring maximum protection and efficient power delivery. This 1000W power supply is produced by one of the more popular OEMs, Channel-Well Technologies, or CWT. This ensures the PSU is crafted with precision and only uses top-notch components.
Before getting down to work, it’s essential to understand what each component is and its importance in the entire system. This section should also work as a checklist to know whether the user has all the tools they need for building the gaming rig. Here are some of the essential components of building a gaming PC.
1. The Processor
The processor, sometimes called the central processing unit (CPU), acts as the computer’s brain. It’s what gets the PC running by collecting instructions from one system of the machine to another. A better processor ensures faster transmission of information and elevated response for both hardware and software functions. Choosing the best CPU boils down to a few key factors: purpose, and budget.
If your daily tasks require intense multicore and multithread performance such as 3D modeling, animation, and AI processing, then opting for Intel’s top-of-the-line i9 13th or 14th Gen processor is the way to go. For maximum gaming performance, AMD’s Ryzen 9 7950X3D or Ryzen 7 7800X3D are our top recommendation due to their large L3 cache and 3D V-Cache enabled cores. The Ryzen 7 7800X3D has been the most popular CPU for gaming as it’s considerably cheaper than its older sibling yet delivers a nearly identical level of performance. In the budget segment, the Ryzen 5 7600 and 7600X are easy to recommend due to their price-to-performance ratio and power efficiency. Check our article on the best gaming CPUs for 2024 for an in-depth comparison.

The Best Gaming CPUs in 2024
The best CPUs for gaming have to stand out in an increasingly competitive space. These are the best you can buy right now.
2. Motherboard
The motherboard houses all the computer’s hardware. It offers room for the other components to work together and function properly. Choosing a motherboard compatible with all the parts required for the entire process is essential. Also, the user may consider motherboards that include additional features like integrated Wi-Fi systems, GPUs, and more. Check our curated list of motherboards for AMD and Intel below.

The Best Motherboards You Can Buy in 2024
The motherboard is a core part of any new PC build. Getting the right one is crucial for ensuring a good experience with a new PC.
3. Graphics Processing Unit (GPU)
The GPU is sometimes called the graphics card. It’s one of the most essential components of a gaming PC. The graphics card displays images from the PC to the monitor. The more powerful the GPU, the better the in-game graphics and settings appear.
Also, a game with complex and elaborate images will require a high-power GPU for optimum delivery.
4. Random Access Memory (RAM)
The RAM, sometimes called memory, determines the amount of data a computer can process at any given time. In other words, it’s where the PC keeps the data it needs to access quickly. The size of the RAM is essential for gamers and the entire system’s productivity, as more memory (plus a high-quality processor) means higher efficiency.
5. Storage
-

WD_BLACK 2TB SN850X Gen4 SSD
Editor’s Choice
- Storage capacity
- 2 TB
- Hardware Interface
- PCIe Gen4 x4
- Brand
- Western Digital
- Transfer rate
- Up to 7,300 MB/s
-

TEAMGROUP T-Force CARDEA A440 1TB SSD
Premium Pick
$58 $100 Save $42
- Storage capacity
- 1TB
- Hardware Interface
- PCIe Gen4.0 x4 with NVMe 1.4
- Brand
- TEAMGROUP
- Transfer rate
- Up to 7000 Mbps
Computer storage comes in two ways: hard disk drives (HDDs) or solid state drives (SSDs). It’s the store that keeps files that aren’t in use. Most users prefer bigger SSD/HDD storage, which means they can keep many files, games, media, and more. The gaming PC building process will include some terms that may sound strange to a new user. Here are some common words to keep in mind.
SATA/ PCIe/ NVMe
SATA/ PCIe/ NVMe all refer to various connection types (like USB). SATA is common for transferring data using SSDs and hard drives. On the other hand, PCIe is common for GPUs and M.2 SSDs, while NVMe is mainly supported by M.2 SSDs. The latter offers quicker data saving and access.
M.2 SSD
M.2 SSD refers to a minor stick that offers storage space to the PC. The M.2 SSD comes in SATA-based or PCIe-based options, with the latter supporting NVMe.
6. The CPU Cooling System
-

Thermaltake Peerless Assassin 120 SE CPU Cooler
Best Value Air Cooler
The Peerless Assassin 120 SE is arguably the best dual-tower dual-fan air cooler for the price. It provides sufficient cooling for most CPUs under heavy workloads without breaking the bank. When running at its full capacity of 1550 RPM, it produces just over 50 dB of noise which is impressive in its segment.
- Brand
- Thermaltake
- Cooling Method
- Air
- Integrated Lighting
- Available
- Noise Level
- 25.6 db
- Fan Speed
- 1550 rpm
- Fan Airflow
- 66.17 CFM
-

NZXT Kraken 240mm AIO CPU Liquid Cooler
Premium 240mm AIO With LCD Screen
NZXT makes some of the nicest-looking components and their Kraken lineup of AIOs are popular among PC builders. This 240mm liquid cooler features a 1.54” square LCD screen on the pump which can display system information in real-time or custom images and GIFs. It’s also available in 280mm and 360mm with ARGB.
- Brand
- NZXT
- Cooling Method
- Liquid
- Integrated Lighting
- Available
- Noise Level
- 30.6 dB
- Fan Speed
- 2800 RPM
- Fan Airflow
- 21.67 – 78.02 CFM
This system prevents the CPU from overheating.
7. Power Supply Unit (PSU)
-

Seasonic FOCUS GX-1000
Editor’s Choice
Seasonic is an experienced campaigner in the realm of PSUs, creating quality hardware and providing an impressive 10-year warranty. This 1000W fully modular gold-rated PSU is adequate even for a high-end build featuring an RTX 4080 Super and a Ryzen 7 7800X3D.
- Brand
- Seasonic
- Output
- 1000W
- Modular Cabling
- Fully
- 80 Plus Efficiency Rating
- Gold
- Protection Features
- OPP, OVP, UVP, OCP, OTP, SCP
-

Corsair RM750E
Premium Pick
Corsair RM750e keeps its amazing history of flawless operation for providing excellent performance. This 2023 edition comes with a fully modular design to keep the cable clutter at bay and also provides PCI-E Gen 5.0 support. The PSU brings a 12VHPWR cable included and can power multiple components with its 750-wattage capacity.
- Brand
- Corsair
- Output
- 750W
- Modular Cabling
- Fully
- 80 Plus Efficiency Rating
- 80 Plus Gold
- Protection Features
- OVP, OPP, OTP, SP, SCP, OCP, UVP, ICP, NLO, FFP
The PSU supplies the computer system with electric currents from an outlet. Ensure the PSU rating has proper voltage for the computer to avoid system blowup.
8. The Computer Casing
-

MSI MAG Forge 112R Case
Budget Case With Clear Side Panel
MSI’s MAG Forge 112R PC case ticks all the right boxes for an affordable enclosure with modern bells and whistles. It supports up to an ATX motherboard and GPUs up to 330mm. The 4 included ARGB fans ensure adequate airflow, although you can only use up to a 240mm radiator at the top.
-

NZXT H6 Flow RGB
Great Dual Chamber PC Case
$124 $135 Save $11
The NZXT H6 Flow RGB brings some uniqueness to the dual-chamber PC cases with its 3 pre-installed RGB angled fans for superior cooling performance. This design allows the user to mount more fans on the front of the case or even the radiator.
A casing is an aesthetic additive to the computer and protects the inner components from dust and debris. Also, some case models come with fans to boost system cooling.
Prepare the Workspace
Another vital component to keep in mind is the workspace. This is where all the building process takes place. It should offer enough room and a safe workplace without the risks of accidental electrostatic discharge, as this can destroy some sensitive components. A large table, laminate floor, or wooden surface offers an efficient PC building space. Also, the user should avoid carpeted surfaces as they increase the impact of static electricity on the body and the material. Frequently touching an unpainted metal surface or wearing an electrostatic discharge (ESD) wrist strap can protect sensitive components.

The Best CPUs to Pair With an RTX 4090
The Nvidia RTX 4090 is the most powerful consumer-grade GPU available. Here are some of the best CPUs one can pair with it to maximize its performance
There’s also the risk of the interface collecting dirt and debris while installing the SSD, processor, or memory. Fortunately, it can easily be avoided by having a can of compressed air in place to clean up the surfaces. With the parts and workspace ready, it’s time to assemble and build the desired gaming PC. This step-by-step guide will make the whole process easy and flawless, even for a first-time user.
Let’s start building
Step 1: Lay the Motherboard at the Workspace
What’s needed: Motherboard
The motherboard lays the foundation of all other hardware of the system. Assemble it outside the case, making the entire process easier and faster. It’s essential to consult the manual as often as possible to avoid any errors during the process.
Depending on the manufacturer, size, and other features, every motherboard has varying specifications and directions for installing the PC components. The manual should offer a perfect guide on completing each step, when to exert some pressure, and which parts require gentle installation.
Step 2: Install the Processor
What’s needed: Motherboard and CPU
The CPU socket is inside the motherboard, covered using a plastic cap. Look out for the arrow on either the socket or one of the corners of the plastic cap and note it. Open the socket tray by pressing down the metal arm and pulling it gently (to the side and away from the socket). Remove the processor’s package and install it. Be careful, as the processor and socket are prone to physical damage. Avoid touching the bottom pins or the chip’s top, as the fingers may leave dust or oil imprints on them.
Instead, hold the processor on the edges while installing. Notice the arrow on the side of the CPU and line it with the one on the socket while gently fitting the processor into the socket. Once perfectly rested, lower the retaining treadle and thrust it back into its original position.
The user may need to exert some pressure when replacing the treadle, but placing the processor in its socket requires zero force. Also, always check the user manual for the best results.
Step 3: Install the Storage
What’s Needed: Motherboard, M.2 SSDs
Check with the user’s manual to know which M.2 slots should be occupied first. Next, determine if the motherboard has protective thermal guards on the slots and take them away first. Slot in the M.2 SSDs in their respective places. While this may require a little force, watch out not to put excess pressure. They should be easy to place if the user follows the right procedure. Ensure the opposite ends of the installed slots point diagonally upward. Then, secure the M.2 SSDs using the suitable screws (which come with the motherboard) into the right spots. Finish up by screwing back the thermal guards over each M.2 SSD.
Step 4: Install the Memory
What’s Needed: Motherboard, RAM
First, go through the user manual to understand the correct order of installation for the RAM. Next, find the memory slots on the motherboard, flip down the plastic fasteners on either side and place the modules. Hold the RAM units on their sides to avoid coming into contact with the gold pins. Don’t touch the module chips, either.

The Best RGB CPU Coolers in 2024
RGB lighting is all the rage when it comes to PC gaming. Here are some of our performing cooling options with excellent RGB in tow!
Ensure the unit’s notches align with the slot’s ridge and place firmly, applying some force until it produces a click sound. This process may require a 30-pound force to install correctly. Check if the fasteners flip up, holding the memory. If not, there’s a high chance the RAM didn’t install correctly.
Step 5: Secure the Motherboard in the Case
What’s Needed: The Case, Motherboard
Look out for the rectangular space in the case and secure in the I/O shield. Then, insert the motherboard comfortably into the space until all ports fit through the shield. Lastly, secure the motherboard onto the standoffs using the appropriate screws. Avoid screwing too tightly, as that may cause cracking. Simply ensure that everything is securely installed but not too tight.
Step 6: Install the Graphic Cards
What’s Needed: GPU, Motherboard
Remove some expansion slot inserts from the rear of the case for space to fit the GPU. The number of inserts will depend on the type of GPU the user settles on, but two is generally accepted. Find the right PCIe Express slot for the graphics card and place the GPU.
Ensure the PCIe Express slot aligns with the card, and press down until the plastic nick flips up and clacks. It may not require a lot of pressure, but the user should ensure it clicks. Then, secure the GPU’s mounting struts into the case using the slot’s holes and screws.
Step 7: Secure in the Cooling
What’s Needed: Fan, CPU, Motherboard
Use the provided mounting brackets to secure the cooling fan to the motherboard. Before then, establish whether the fan already has thermal paste or needs to be applied during the installation process. If not, apply a pea-sized thermal paste into the middle of the CPU and press the fan into its place (on the processor and paste). Finish by plugging all the fan system’s cables into the correct spots.
Step 8: Install Power Supply Unit (PSU)
What’s Needed: power supply, motherboard, case
It’s an added advantage to check the user’s manual for directions. However, this process shouldn’t be complicated. Remove the PSU retaining bracket and attach it to the power supply. Insert the power supply into the case until it levels with the case.
Step 9: Plug in all Required Cables
What’s Needed: power supply, case, motherboard
Follow the manufacturer’s instructions to plug all required GPU, USB, audio, power supply, drives, cooling cables, and heatsink into the motherboard.
Step 10: Attach the Tools
The next stop on how to build a gaming PC involves attaching all the required peripherals into the system. These include a gaming mouse, monitor, headset, and keyboard. These tools are essential for adding precision to the gaming experience and provide ergonomic advantages.
Step 11: Switch on the System
With all components and cables in place, it’s time to press the power button. Everything should power on, especially if the gaming PC building process is successful.
Step 12: Boot Up the System
If step 11 is successful, a screen will appear asking for the system BIOS. Place the disk containing the OS in the suitable drive, restart the system, and install the OS.
What if the PC Doesn’t Power on?
Sometimes, the system may refuse to boot for several reasons. It doesn’t have to be anything related to product malfunctions. Here are some tips to troubleshoot the potential problem.
- Check if the power supply is attached to the outlet and plug if not.
- Confirm if the PSU’s switch is on.
- Ensure all power supply cables are properly attached to the motherboard.
- Ensure all case’s cables are appropriately attached to the motherboard.
- Ensure all parts and components are properly secured.
If all the steps above don’t correct the reboot process, then one or some of the components may be faulty. Contact the manufacturer and inquire about the return policy and whether it covers defective parts.
Final Thoughts
Voila! That’s it for tips and steps on how to build a gaming PC. Many beginners dread this process. However, with the proper guidance, anyone can get the most out of their gaming systems by creating them themselves. We hope this guide eliminates all the bottlenecks in creating a functional, durable, and user-centric gaming rig. Also, check out the last section and get answers to questions related to the topic.
TEAMGROUP T-Force CARDEA A440 Pro 1TB SSD
$58 $100 Save $42
FAQ
Q: Why does my gaming PC fail to boot after building?
There are several reasons why a gaming PC will refuse to power on after building. First, check if the system is connected to a power output, whether the PSU switch is on, or if any components aren’t correctly installed. If none of these is the cause, then one of the components could be having a problem. Check with the manufacturer.
Q: Is there a way to build a gaming PC in Budget?
Building a gaming PC at home comes with its budget advantages. For instance, users can shop around for components and get the best prices on parts. Also, they only collect what they will need to use, cutting down on the need to pay for expensive, extra components.
Q: Which are the most essential parts of a gaming PC?
A gaming PC includes seven main components to build and get running. These include the case, motherboard, GPU (s), storage, power supply, processor, and memory.
#Build #Gaming


More Stories
EA Reveals How Much Revenue Apex Legends Has Generated
Fallout 4: 12 Best Things You Can Do Outside Of The Main Story
Fallout 76 Fan Demonstrates Big Issue With Battle Pass-Like Scoreboard